Inventory Manually add Closing Counts by Category
Inventory Closing Counts by Category
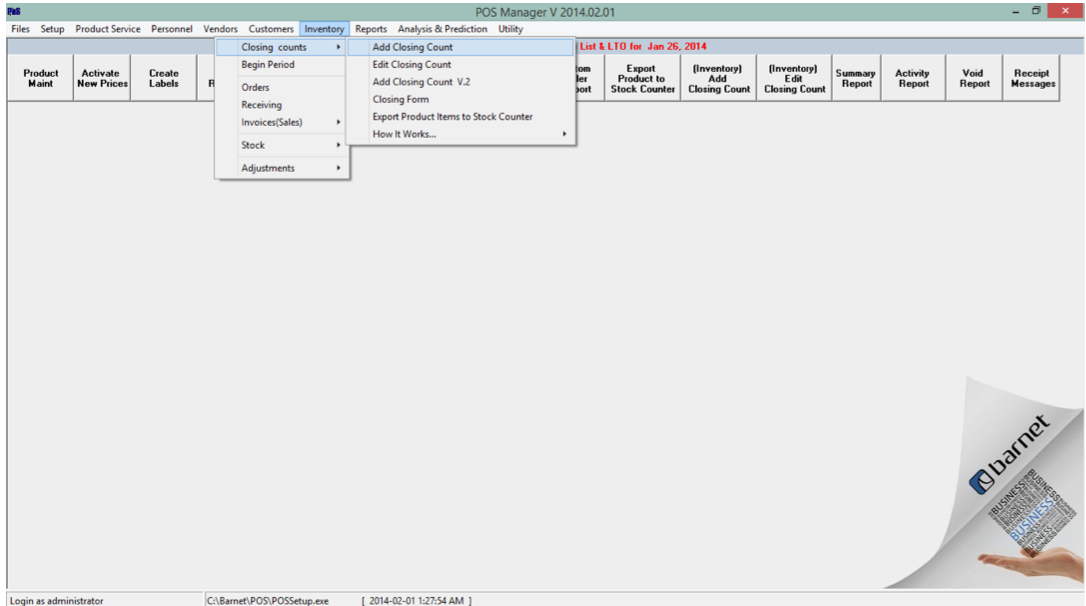
If a speed button has not been set, go to Inventory > Closing counts > Add Closing Count
Select the Category/Categories to be inventoried.
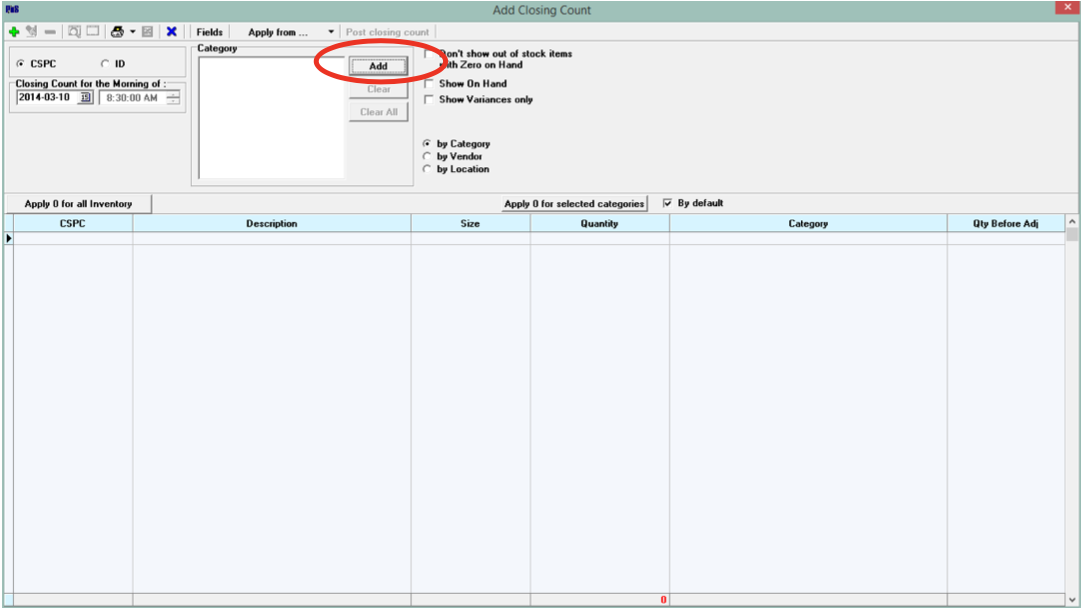
Tick Show On Hand
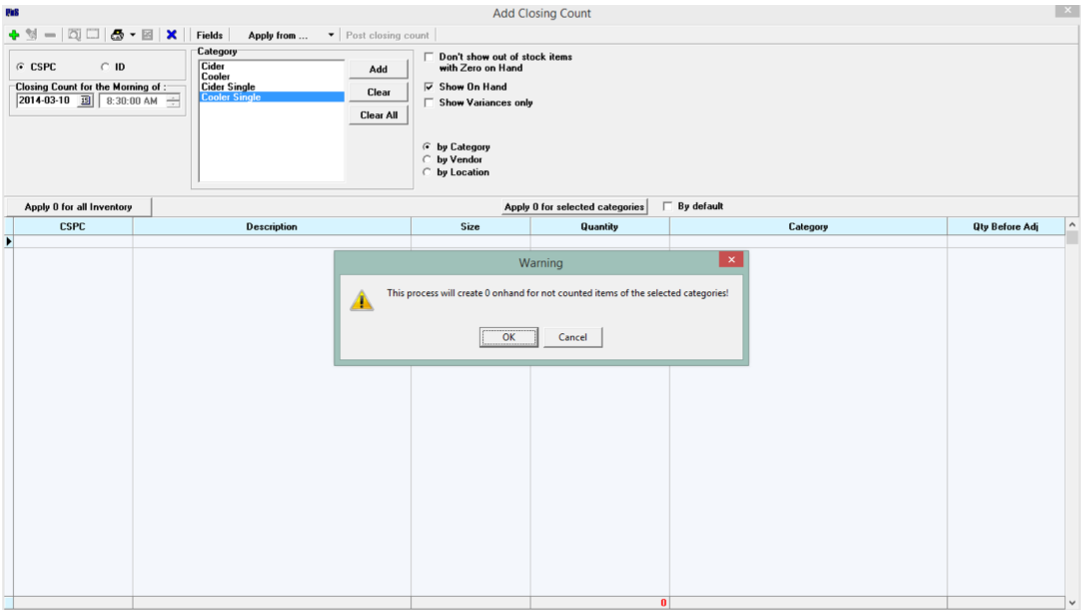
You must select OK to continue with the inventory without using a handheld stock counter.
Print the count sheet(s) and do a preliminary item count.
Once you have your preliminary counts,
- Double click on the first item and make any count corrections at the bottom.
- Click on Save – This will take you to the next item.
- Continue until all adjustments have been made.
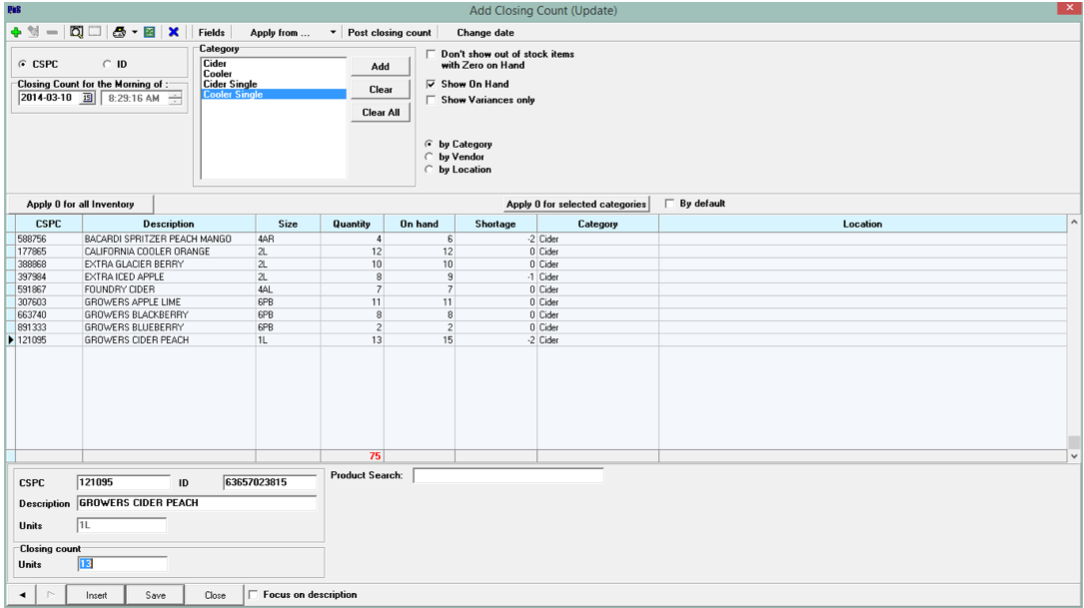
Press Post Closing Count. This will immediately update your inventory, so a good preliminary count is important.
The Edit Closing Count window will automatically open. This is where final edits are made.
- Tick Show Only Short/Over Items
- If necessary, print an Over/Short sheet to do a recount. (Found under the Print Icon Arrow)
- Recount product
- Double click on an item to open the edit box at the bottom of the screen, edit product counts where necessary
- Hit Save after editing each product
Once the inventory is correct,
- Untick Show Only Short/Over Items
- Select Accept All
- Print the Variance Report
Sign the report, attach to your count/recount sheet and file. (It is a VERY good idea to save your recount sheets. You may need to refer to them during a future inventory to trace counting/inventory errors.)
Important Notes
Make sure to untick the Show Only Short/Over Items before accepting the inventory or the hidden items will not be accepted.
If the inventory does not get completed, DELETE ALL ITEMS. Again, make sure to untick Show Only Short/Over Items or those items will remain.