Hosted Pay Page
Steps to setup HPP on PayHQ
Basic requirements for integrating with PayHQ Hosted Payment Page
- Setup your hosted payment page
- Provide the domain name and return page URL
- Generate your access token
- Use this access token to send payment request to the hosted payment page endpoint
Customer Vault Feature - If you would like to enable the customer vault feature for Hosted Payment Page (HPP), please inform our team and we will configure it from our admin side. With this feature, customers who have at least one card saved in the PayHQ will be able to make transactions using their saved card details.
Follow these steps to get started with HPP setup
Login to your merchant account
Login to your merchant account
Open settings and select hosted payment page
Open settings and select hosted payment page
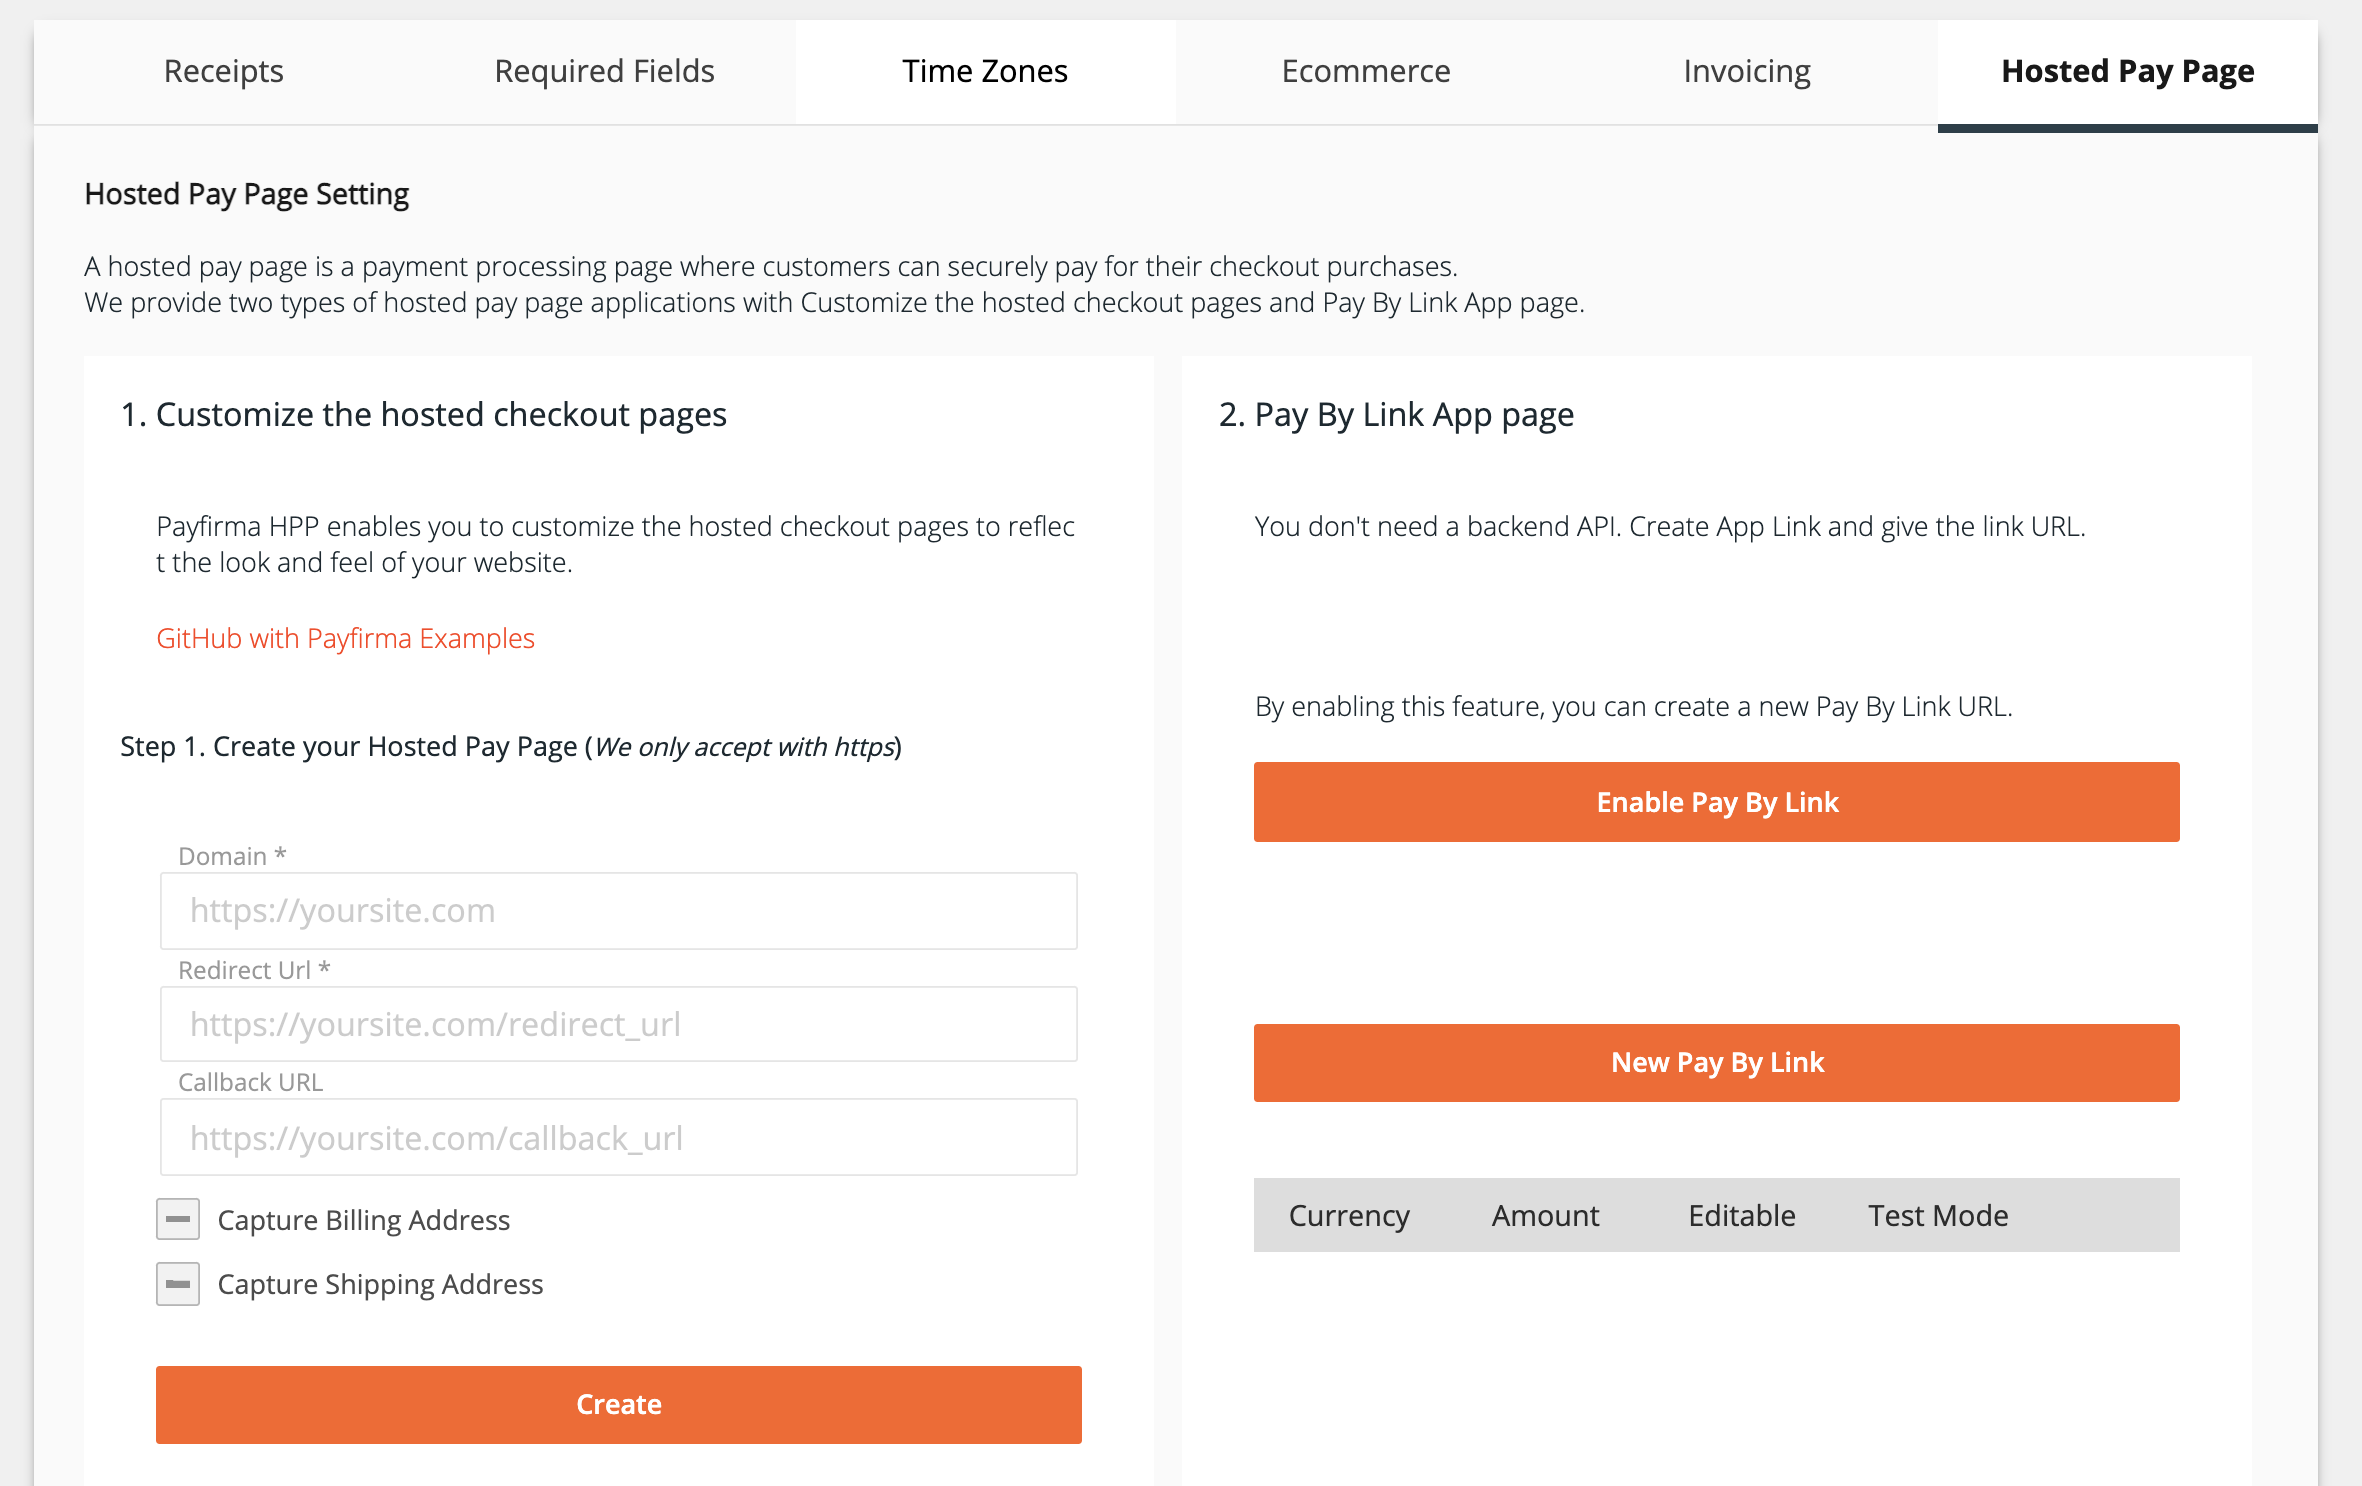
Enter your domain, return URL and callback URL(optional)
Enter your domain, return URL and callback URL(optional) to setup your hosted payment page
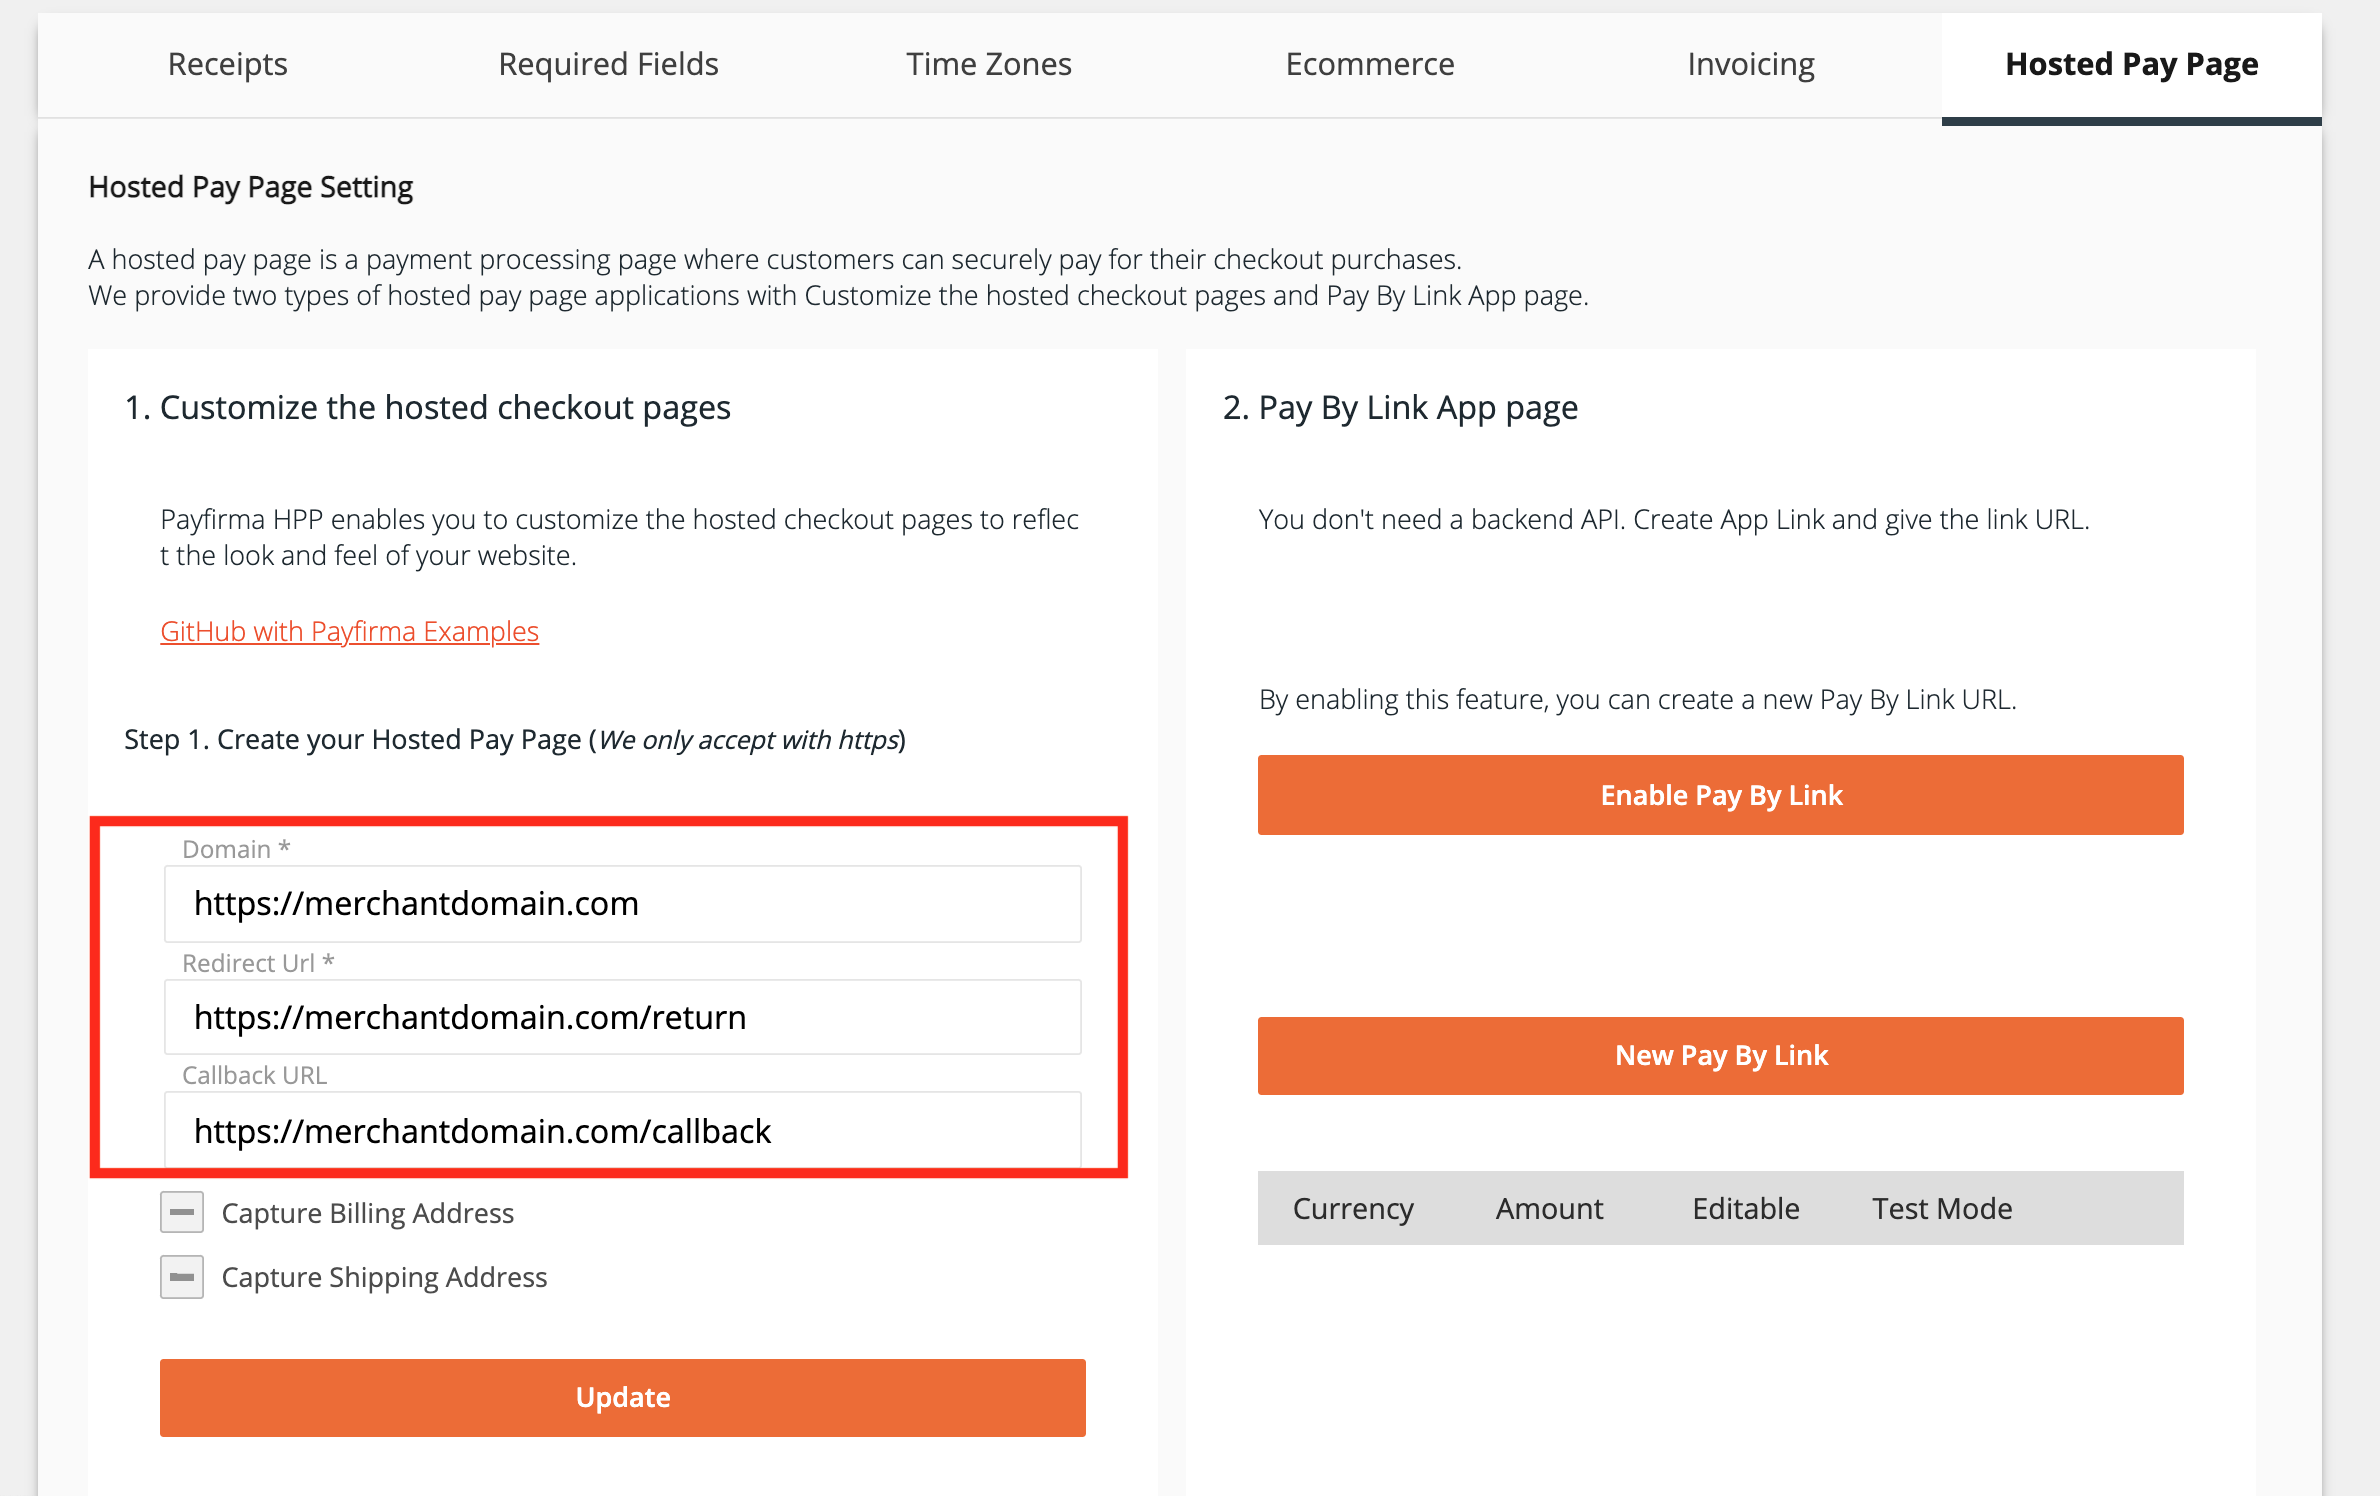
Once you enter this your hosted payment page will get set up
Once you enter this your hosted payment page will get set up and you will notice that you have been provided the init endpoint to send transaction requests to.
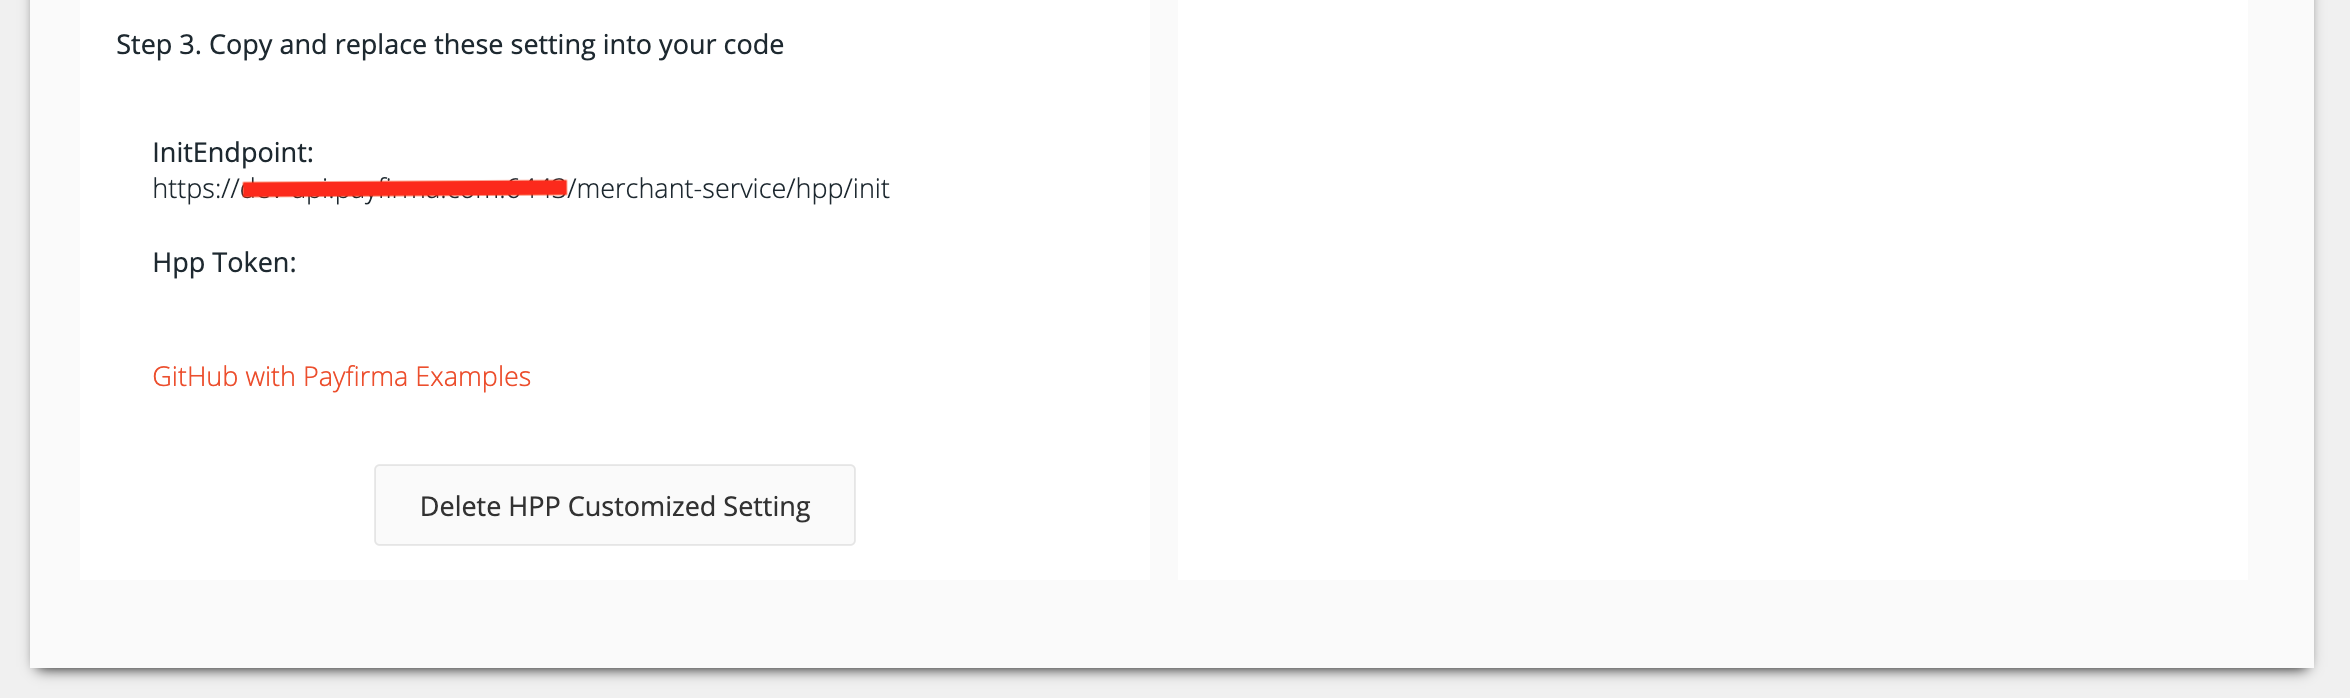
You will need the access token in order to get access to the backend functionality
But before you can start using the hosted payment page you will need the access token in order to get access to the backend functionality.
Click on Generate Token button
Click on Generate Token button to generate your access token
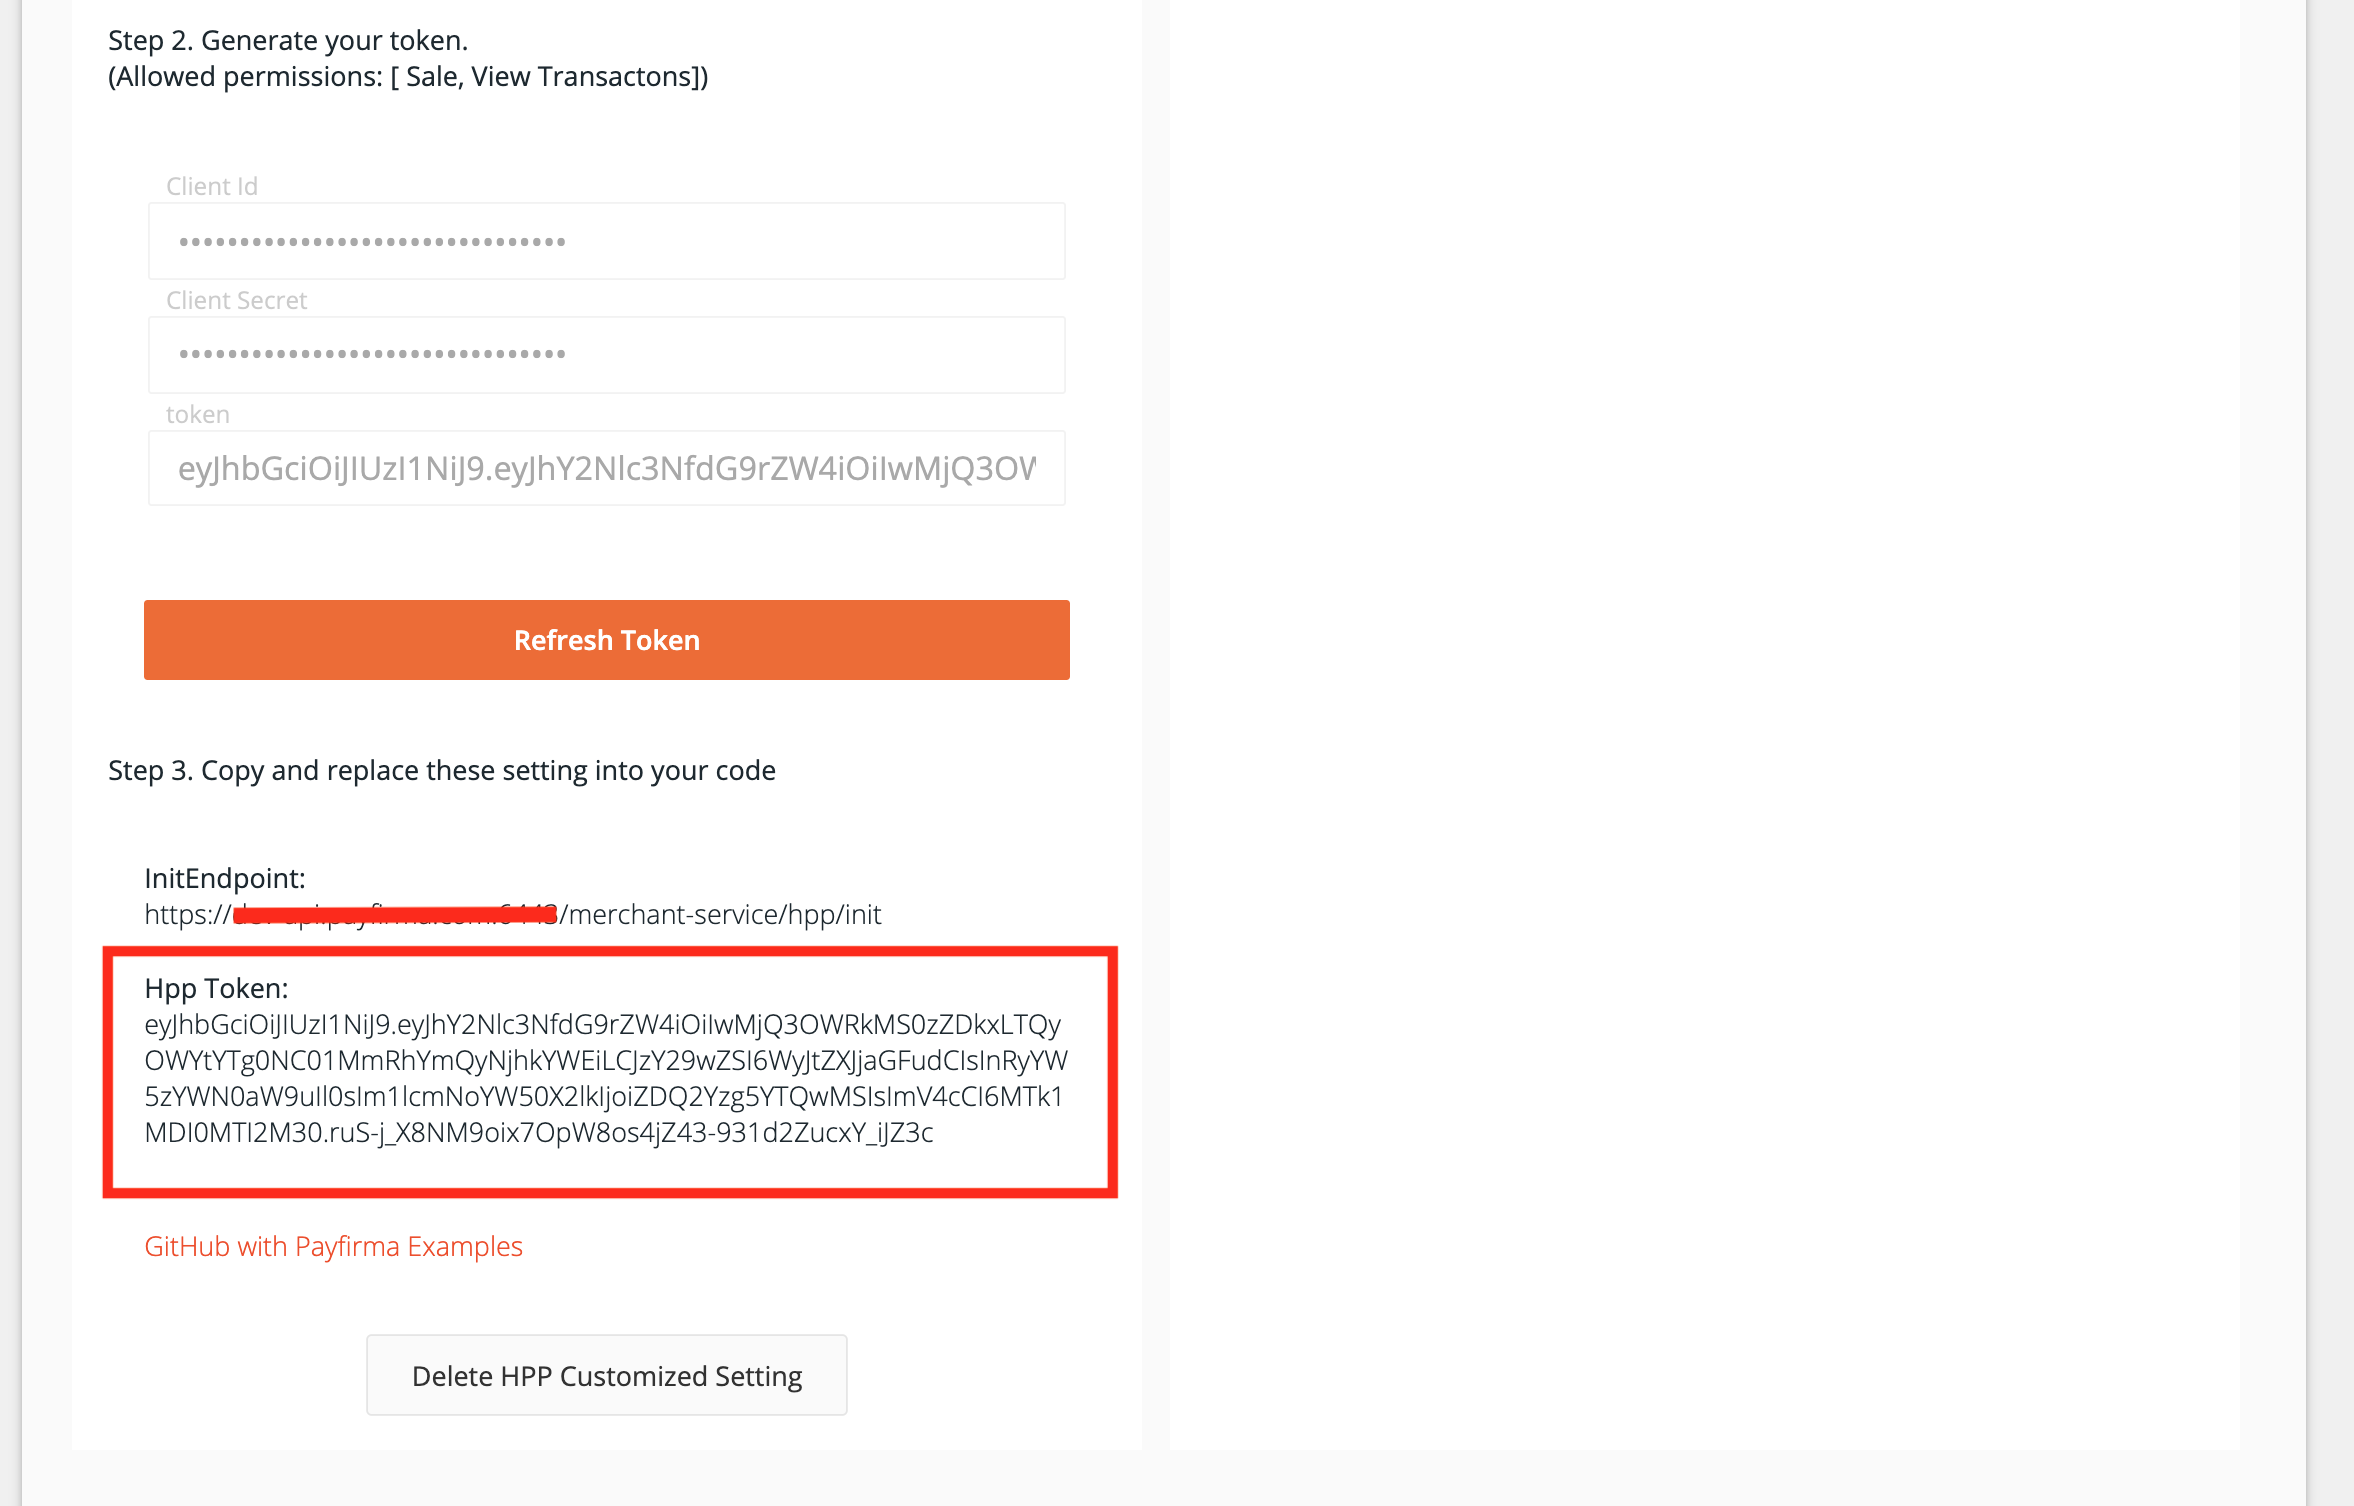
At this point you are all set to start integrating with our hosted payment page
At this point you are all set to start integrating with our hosted payment page
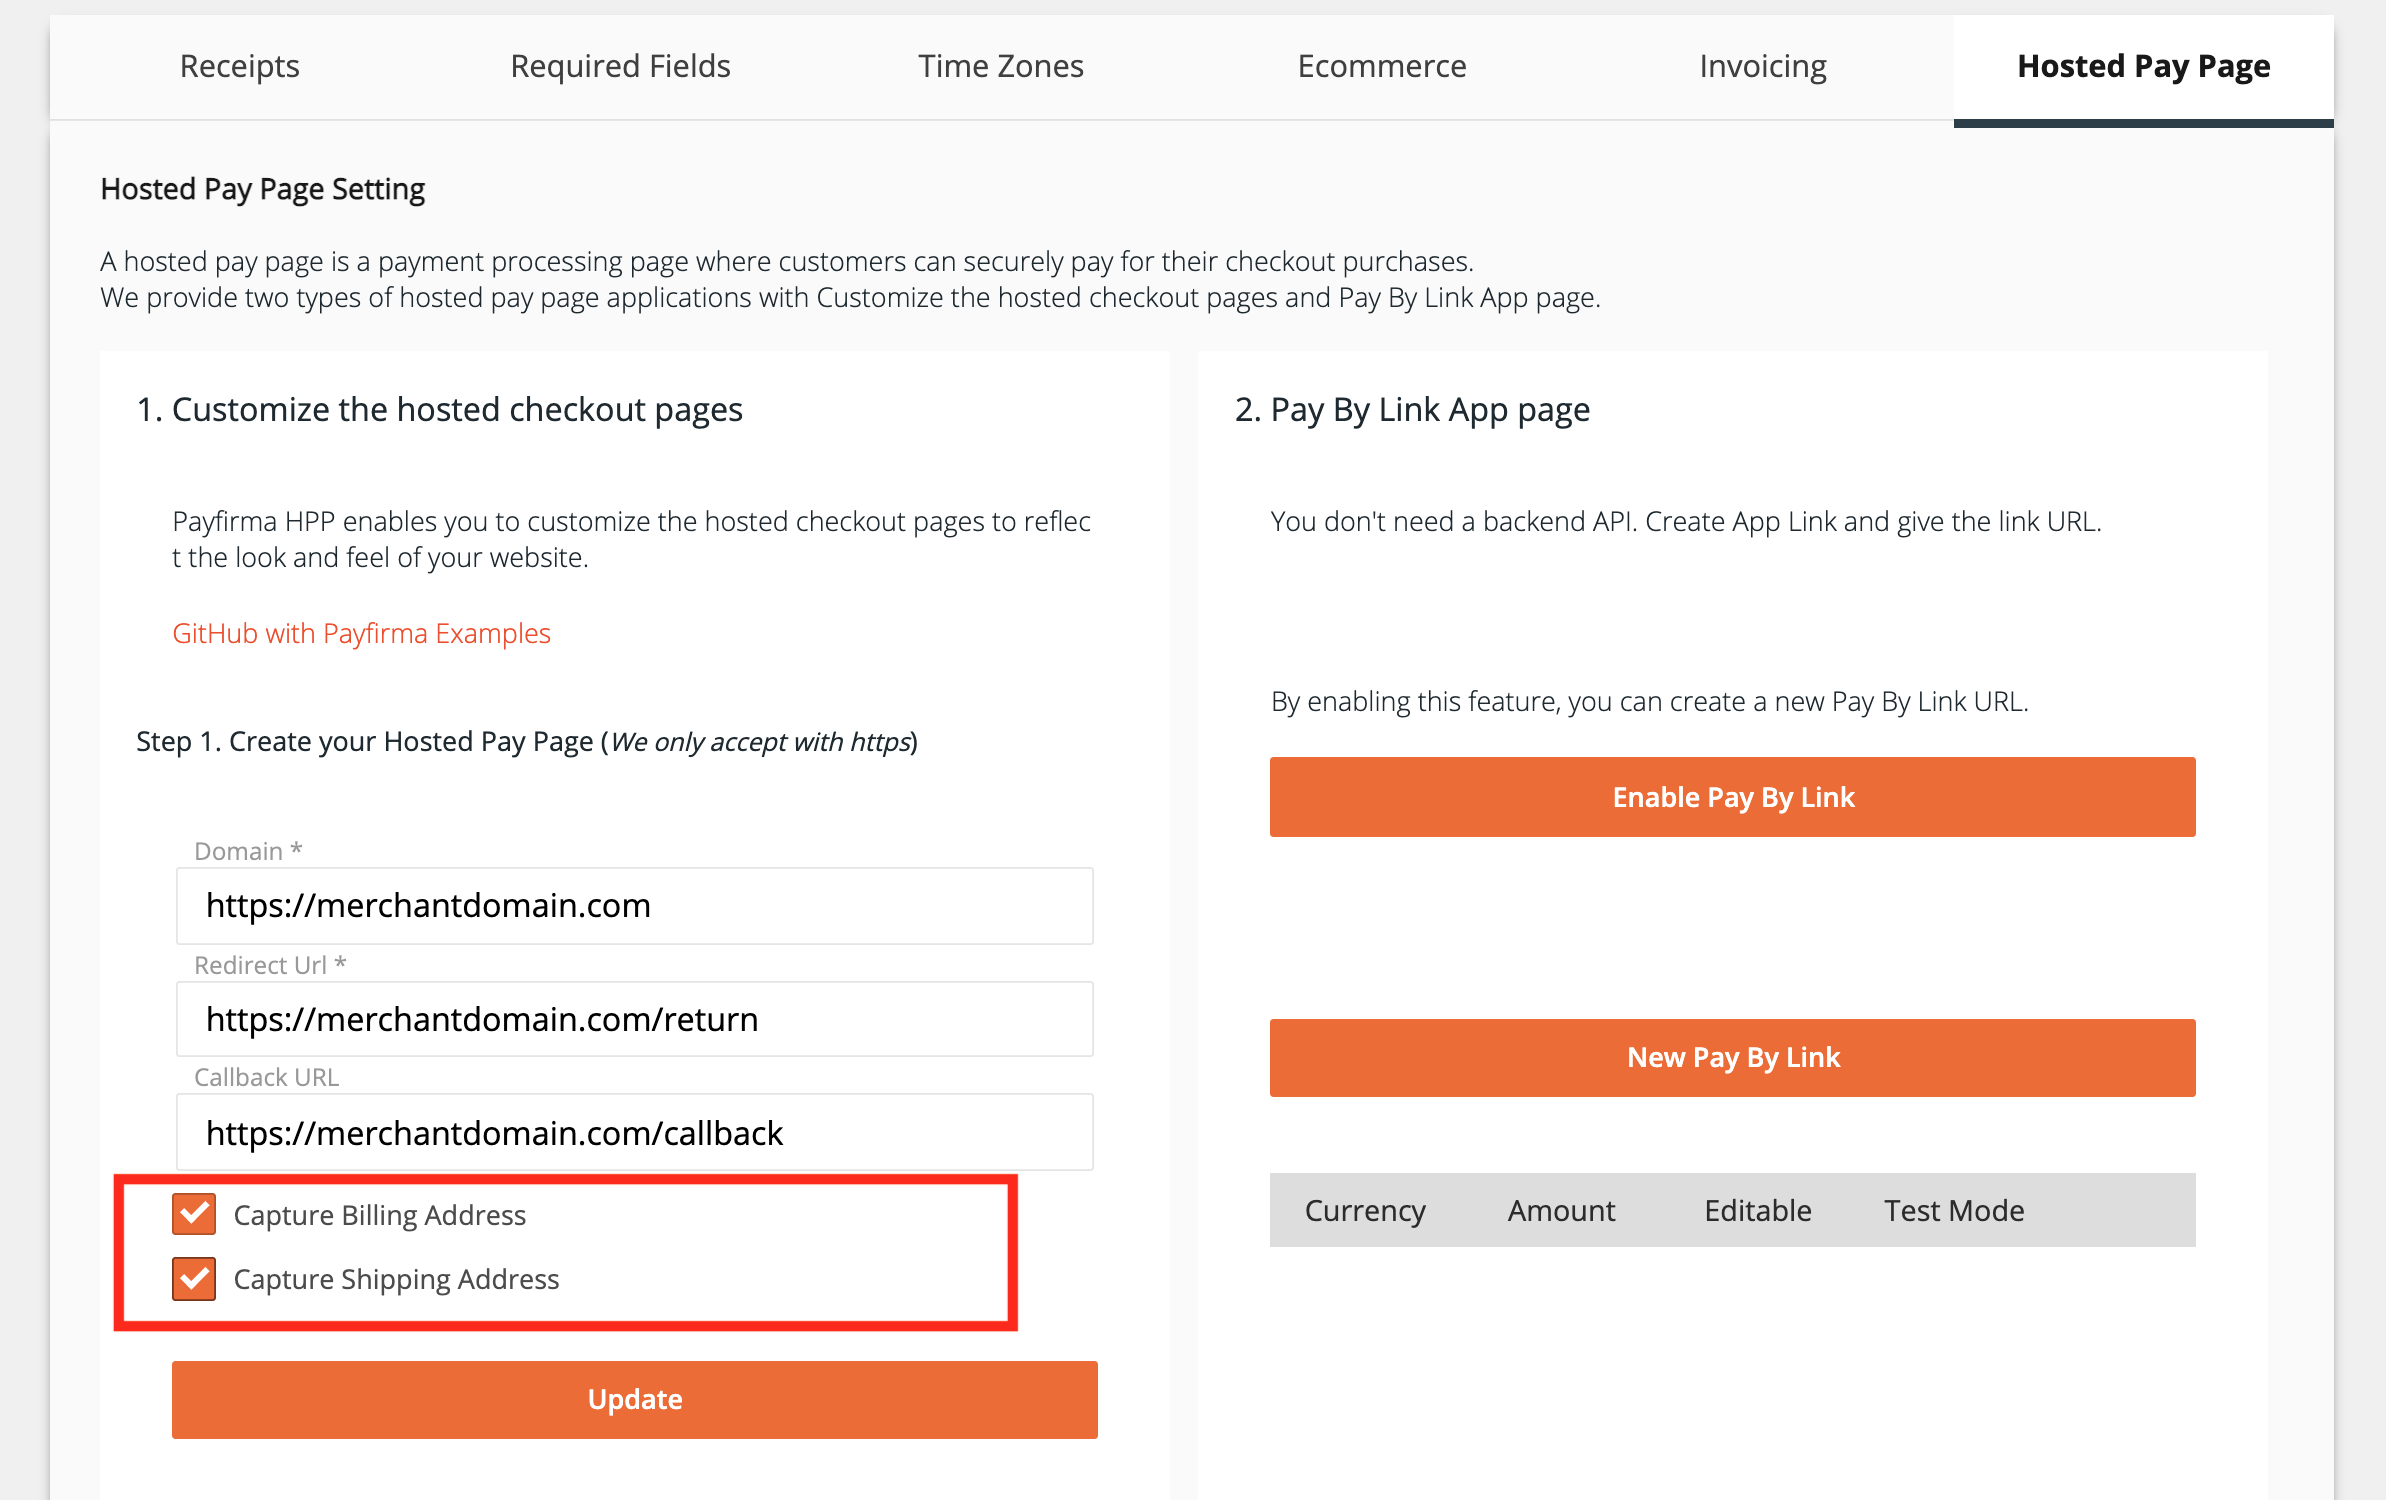
Collecting billing and shipping information on the hosted payment page
Additionally if you are interested in collecting billing and shipping information on the hosted payment page then you can select the capture billing address and capture shipping address options. You can select both or just one of these options, depending on your requirements.
At this point you are done with creating your hosted payment page settings
At this point you are done with creating your hosted payment page settings.
Use these settings in your e-commerce application
Next step is to use these settings in your e-commerce application.
Using the sample application
- Clone the sample application
- Open App.js and replace
ENDPOINT,DOMAINandTOKENvalues with theInitEndpoint, domain entered in your HPP settings page and the access token respectively. - Open the package.json file and change the HTTPS and port settings as per your requirements
Run and test this demo application