Adding or Editing Buttons in Screen Setup
Access Screens Setup
- Open Screens Setup using the same login credentials you use for POS Manager.
Select a Main Screen
- Choose either Main Bar or Main Food.
- By default, the system opens Main Bar.
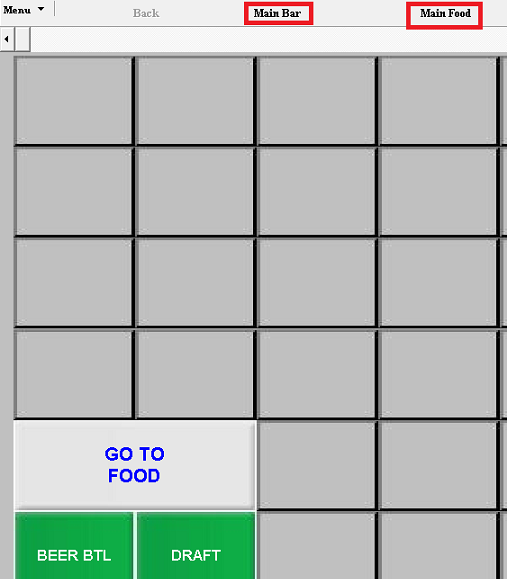
Navigate to the Target Screen
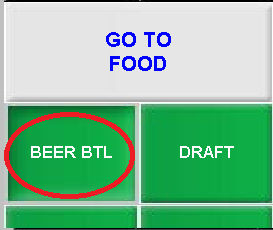
If you want to add a new button (item) under a specific screen (for example, Beer):
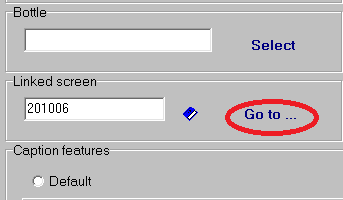
- Click the Beer button to select it, then either:
- Click Go To… from the right-hand panel, or
- Double-click the button to open the linked screen.
Select a Button to Edit
- Once the Beer screen is open, click the button you want to use for the new item.
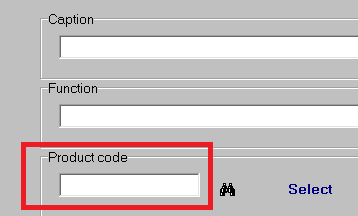
Assign a Product to the Button
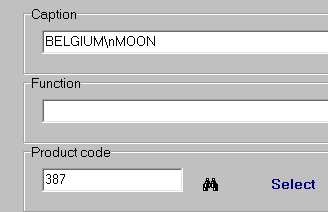
- Enter the product SKU in the Product Code field.
You can do this by:
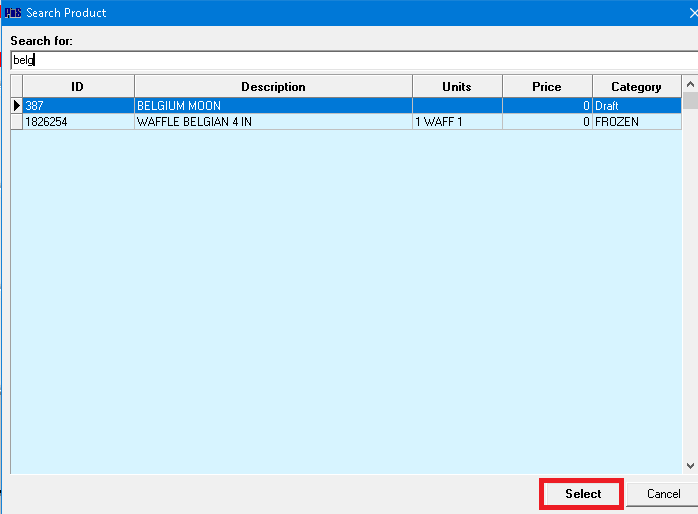
- Clicking Search, typing the product name (or portion), selecting it from the list, and clicking Select, or
- Using the Select option directly.
The system will automatically populate the Product Code and Description fields.
Button Caption Formatting
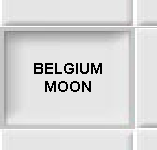
- The system uses
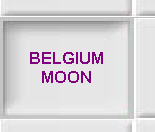
\nto indicate a new line in the button caption. - When you click Save, the button text will display on multiple lines accordingly.
Customize Font and Color (Optional)
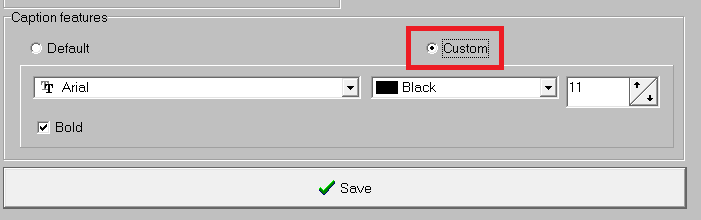
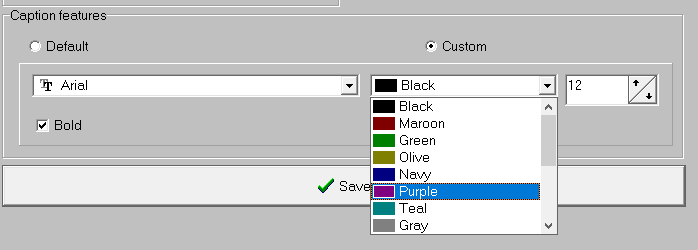
- To change font size or text color:
- Select the Custom option.
- Adjust the font size and caption color as needed.
To add multiple lines to the description, use the Add New Line option.

Save Your Changes
- After making any button adjustments, click Save.
Apply Changes to Front POS
- To see screen changes on the tills, you must refresh the Front POS:
- Exit the POS program
- Reopen it on each till